

Needle Felted Ladybird Brooch
Make this really easy colourful brooch in a short time even as a beginner! These are easily turned into a brooch by using our No Sew Brooch Backs!
Per Ladybird, you will need:
- 4-5g of Poppy Red dyed New Zealand Merino batts
- a wisp of Black dyed New Zealand Merino batts
Optional: - a tiny wisp of white wool batts such as Cape Merino
- Felting needle (#38 medium)
- Felting Mat
 |
Take the red wool and wind it up in itself teasing the fibres out as you roll it up so you end up with a tight parcel with wispy ends a the end of your wrap. |
 |
Use your felting needle and first secure the wispy ends by stabbing them straight into the round shape. Remember your needle needs to go in and out in a straight line. If you have never needle felted before pop over to our free tutorial page where you find lots of useful tips for beginners. We recommend Make a Basic 3D Shape Video |
 |
Next give the shape a few stabs all over to tidy any wispy wool ends away and concentrate on making one part flat by stabbing the needle repeated in a disc shape area. |
 |
Next take a wisp of the black wool and decided which part is the front of your ladybird. Lay over that part. |
 |
Then fasten this on with your needle by gently stabbing the black fibres into the red shape. You can be quite precise making sure the black is just covering the front. Add more black if need be. Then make an indentation with your needle by going in a straight line from the front to the back of the ladybird. Repeat this until you have made a groove. |
 |
Take a wisp of black (less than what you used for the head) and tease apart with your fingers to form a thin strand of black wool. Lay into the groove you made earlier. |
 |
Stab the black into the groove until it becomes a thin line. |
 |
Next take tiny amounts of black (less than for the line along the back and roll into a tiny ball between your fingers. Add one to the top of the stripe right behind the head by stabbing it gently into the ladybird. Repeat with two more spots on either side of the black line. Make sure the spots are of a similar size. |
 |
Then add two more black spots on each side below the first black spot you added earlier. Your ladybird should have 7 spots now. |
 |
Take a similar amount of white and roll into a ball and fasten onto the side of the very first black spot you made on the top of the black line. Repeat on the other side. |
 |
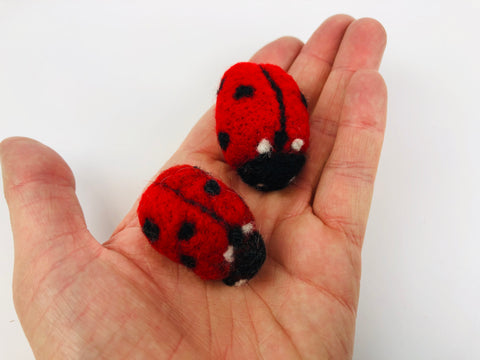
Then make two more white spots on the head of the lady bird as shown in the picture. Make sure that your lady bird is symmetrical. Throughout the project you will be adjusting the shaping so your ladybird should now be about 4-5cm long and feel nice and firm. |
 |
Add the brooch pin. If you are using our no-sew brooch pin you can do this in seconds! Just thread the end of the pin into the felted shape, then swivel the pin round the bend (no coil!) This will make it super secure and you can now pin it on like you would with a usual brooch pin. The advantage is also that you can take the pin off any time again. |
Why not Make-Along with us? |