

News
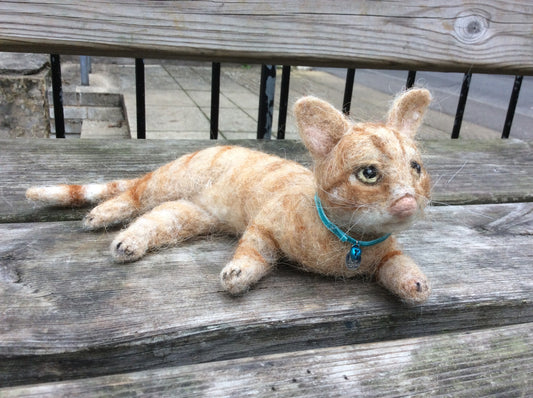
A Piece of Cake or Biscuit the Cat?
Steffi Stern
You would think that having co-authored a book on how to needle felt animals would give me the skill, confidence and speed to quickly turn out a pet portrait. No...
A Piece of Cake or Biscuit the Cat?
Steffi Stern
You would think that having co-authored a book on how to needle felt animals would give me the skill, confidence and speed to quickly turn out a pet portrait. No...
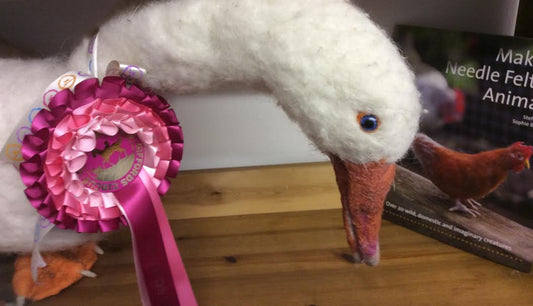
Making Large Needle Felt Animals: The Goose wit...
Steffi Stern
How Brian the Goose came to be! Our Brian is a life size white goose who is a pet portrait of a real circus performing goose who belonged to a local...
Making Large Needle Felt Animals: The Goose wit...
Steffi Stern
How Brian the Goose came to be! Our Brian is a life size white goose who is a pet portrait of a real circus performing goose who belonged to a local...